Summary
The document provides a step-by-step visual guide for creating and sharing folders in OneDrive. It walks users through accessing OneDrive, creating a folder, setting sharing permissions, and uploading files. The guide is designed to streamline collaboration, especially for academic or instructional use.
Body
Open OneDrive
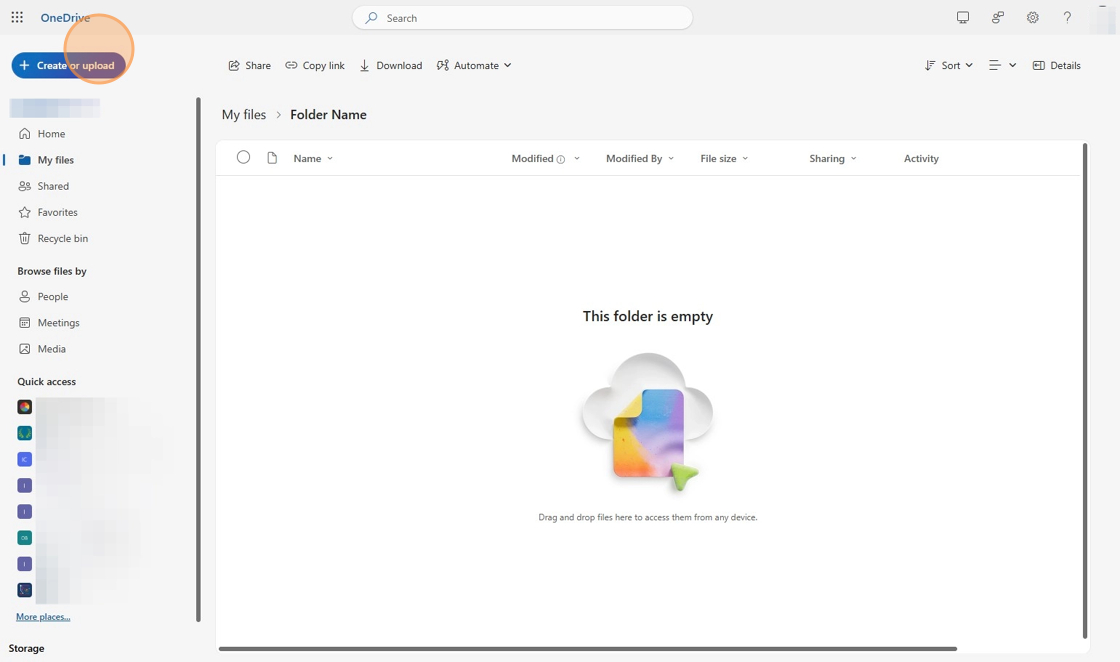
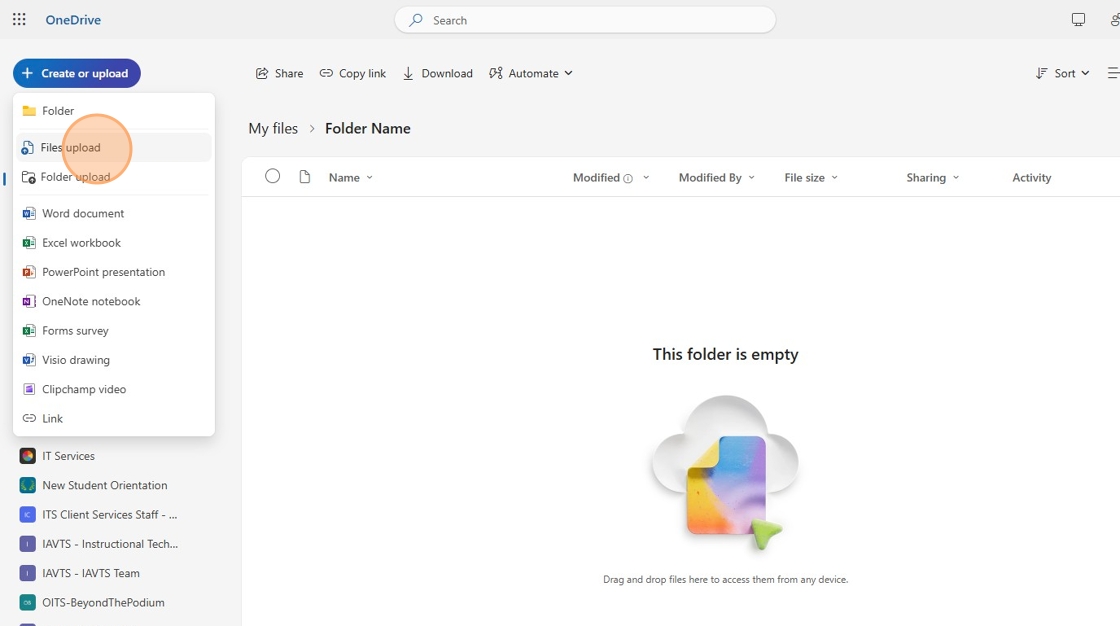
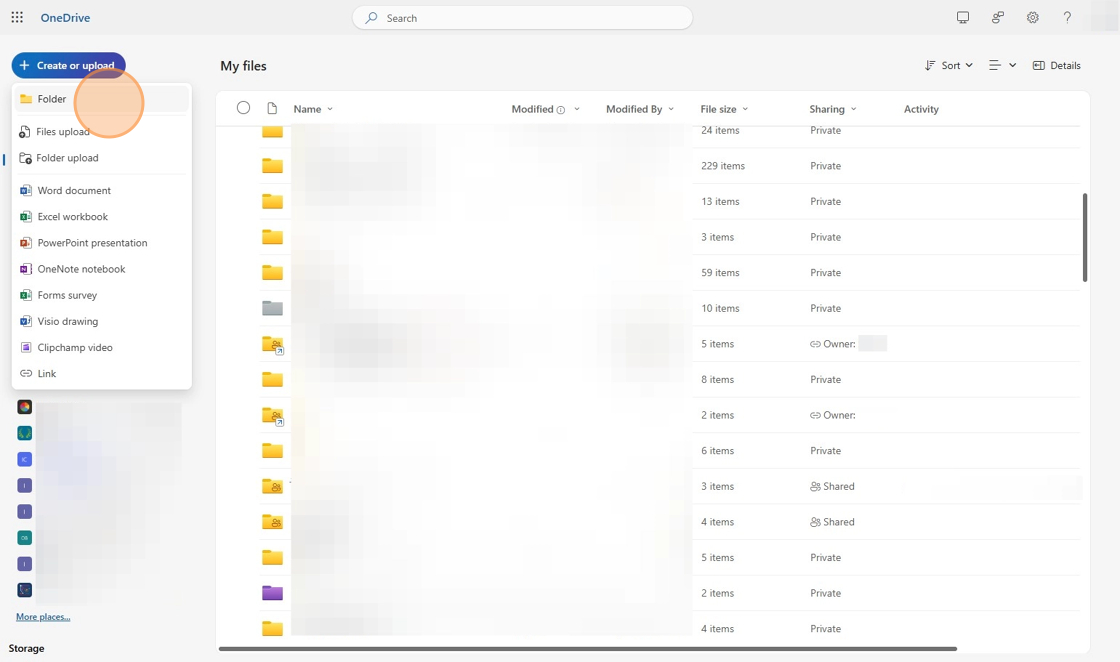
2. Click "Create or upload"
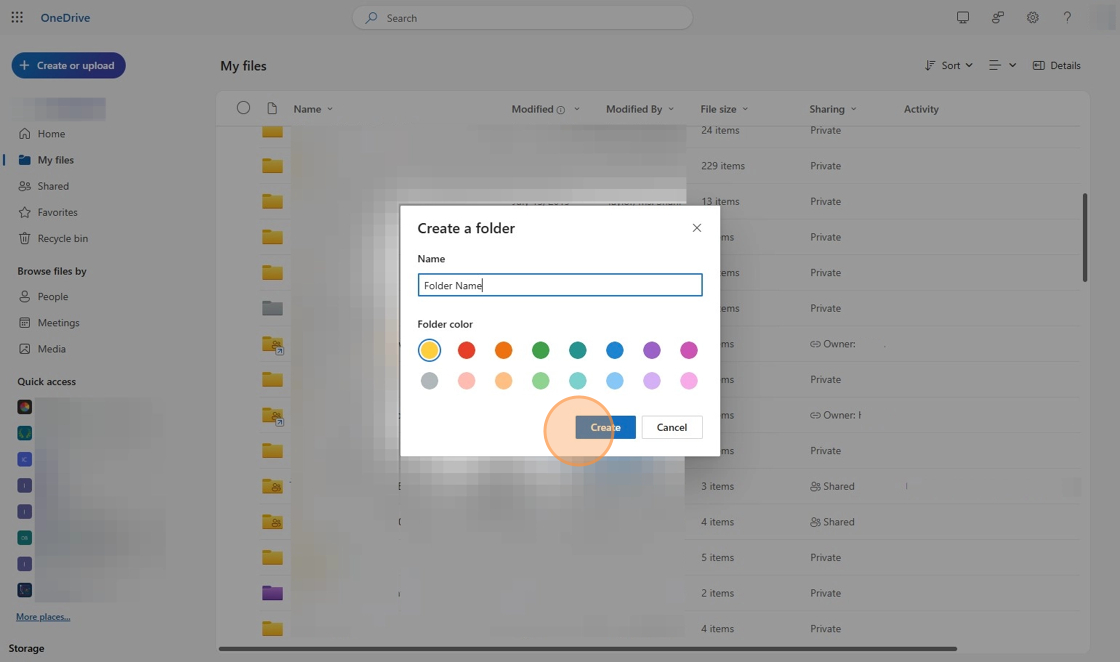
6. Click "Folder Name" that you just created to open the folder

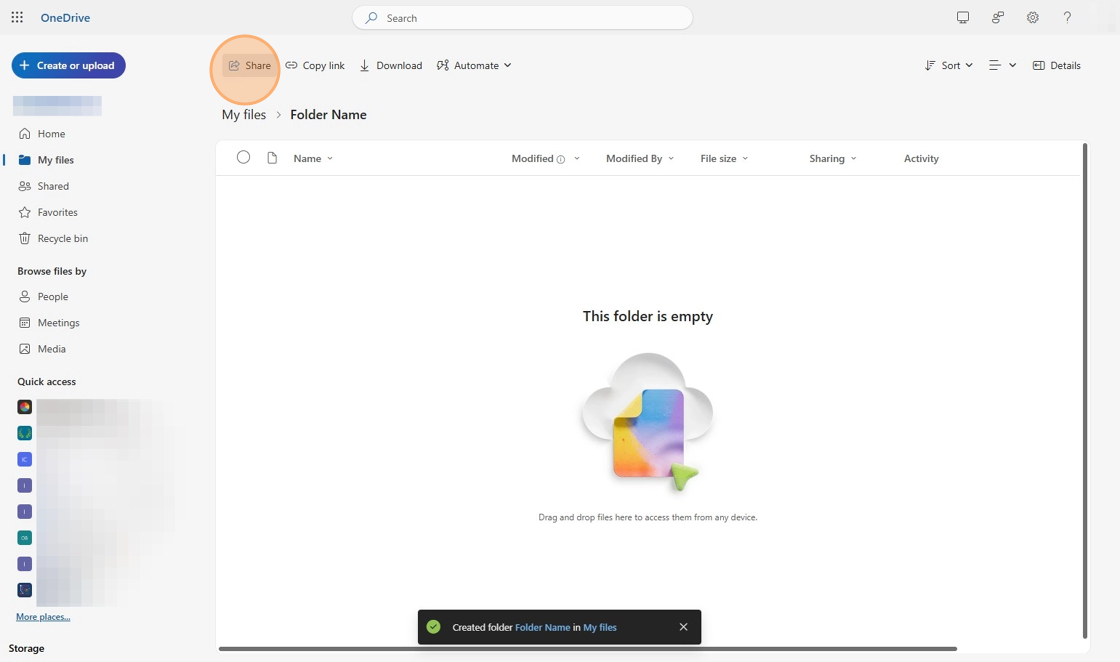
Share Folder
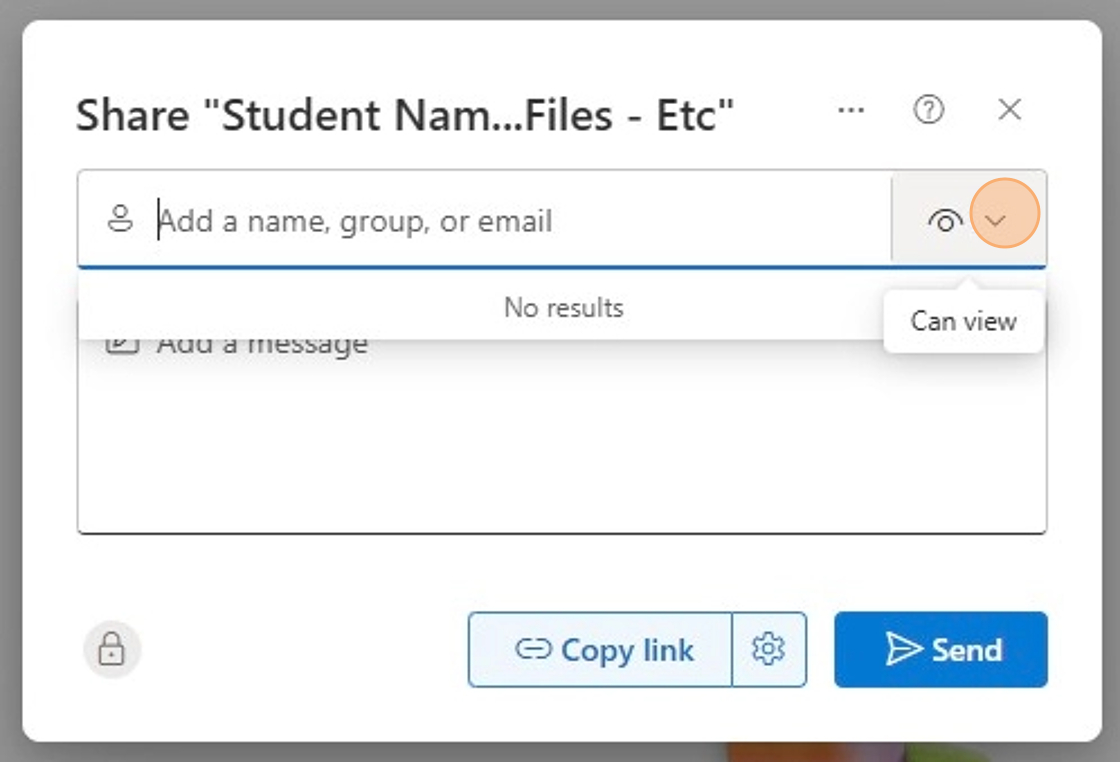
8. Click the "Add a name, group, or email" field.
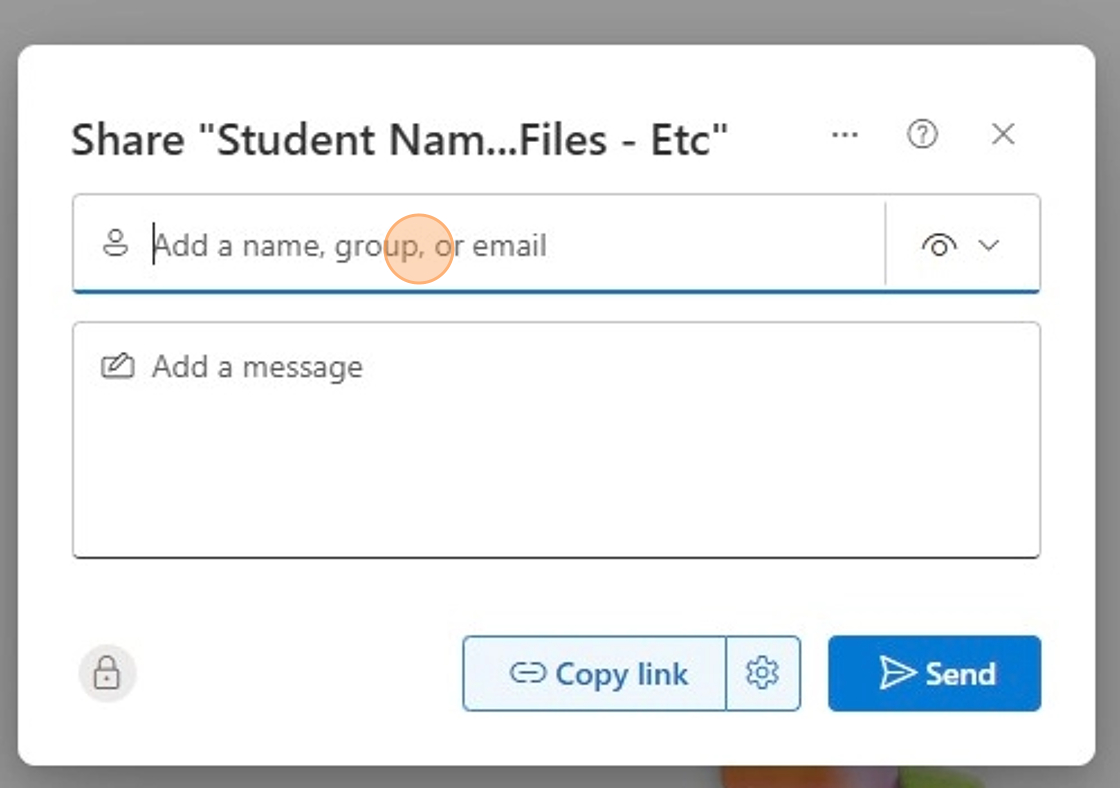
9. Type "student name [[enter]]"
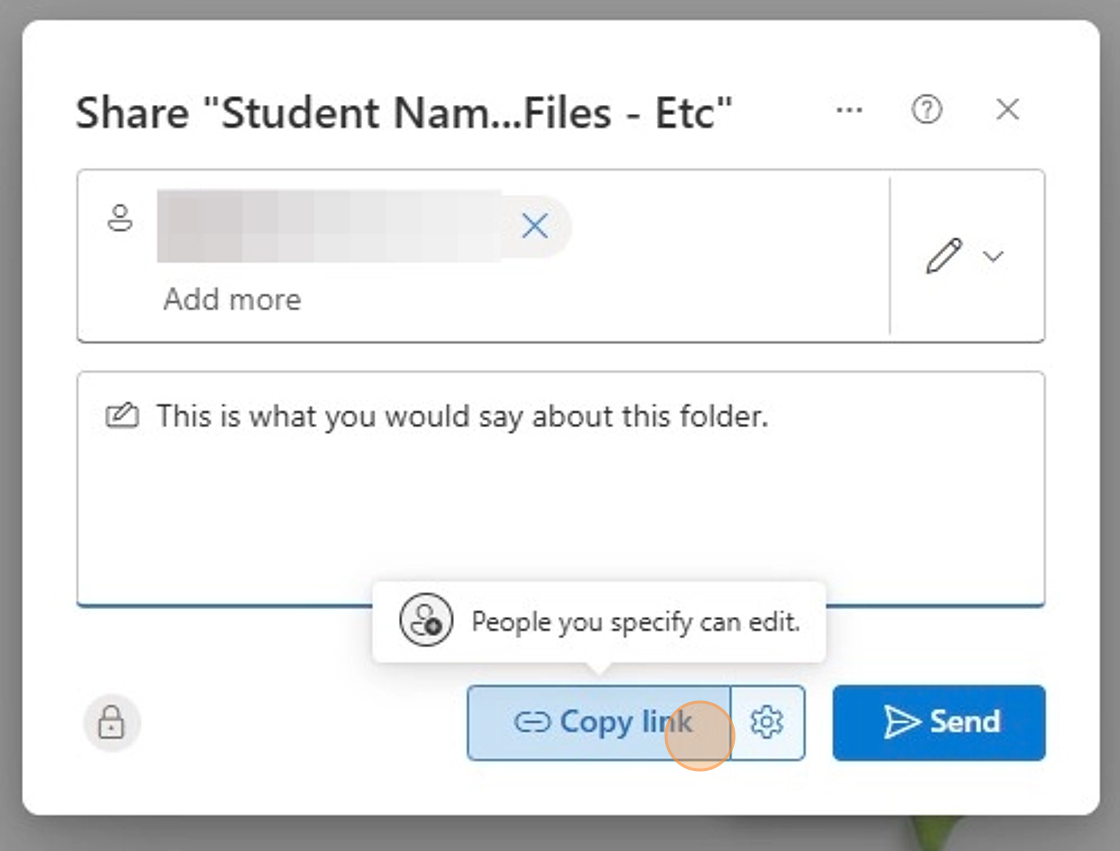
10. Click to adjust settings from "Can view" to "Can edit".
11. You can "Copy Link" to send in a separate email
12. Or "Send" to email the folder directly to the student.

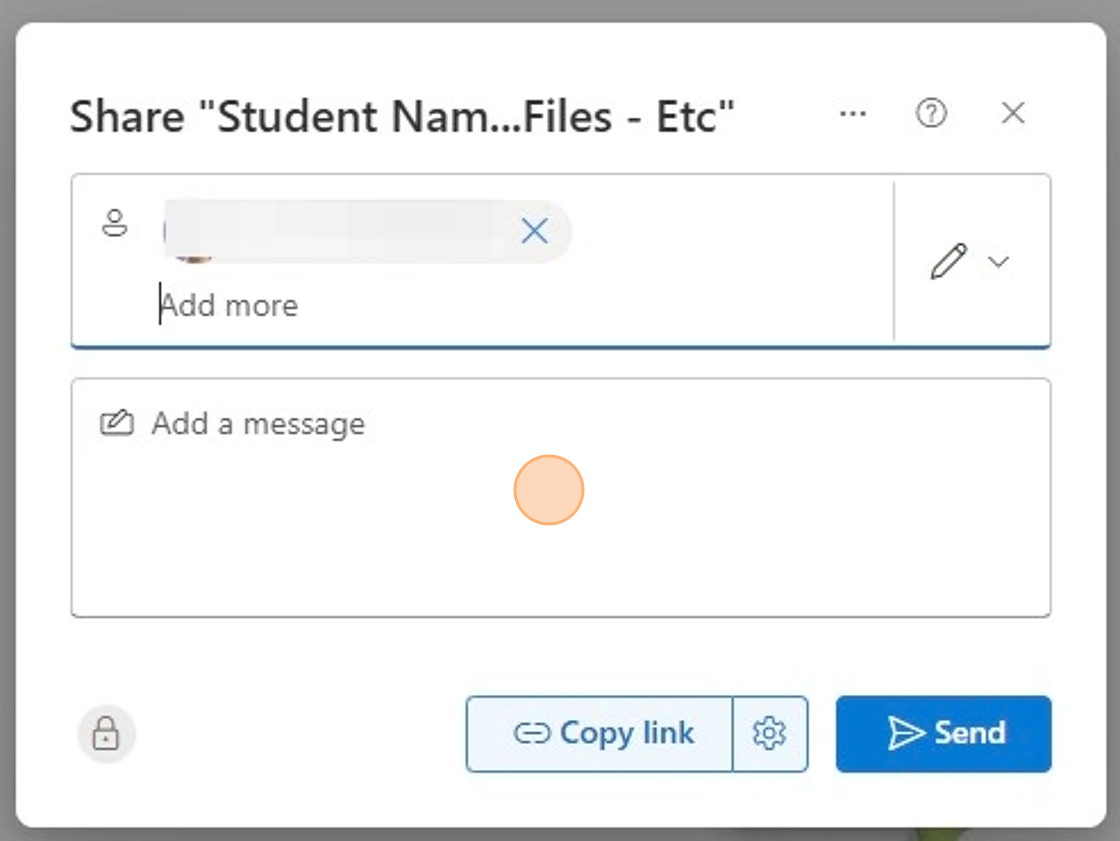
13. If you're sending from OneDrive, click the "Add a message" field. Provide information about what this folder is for the recipient
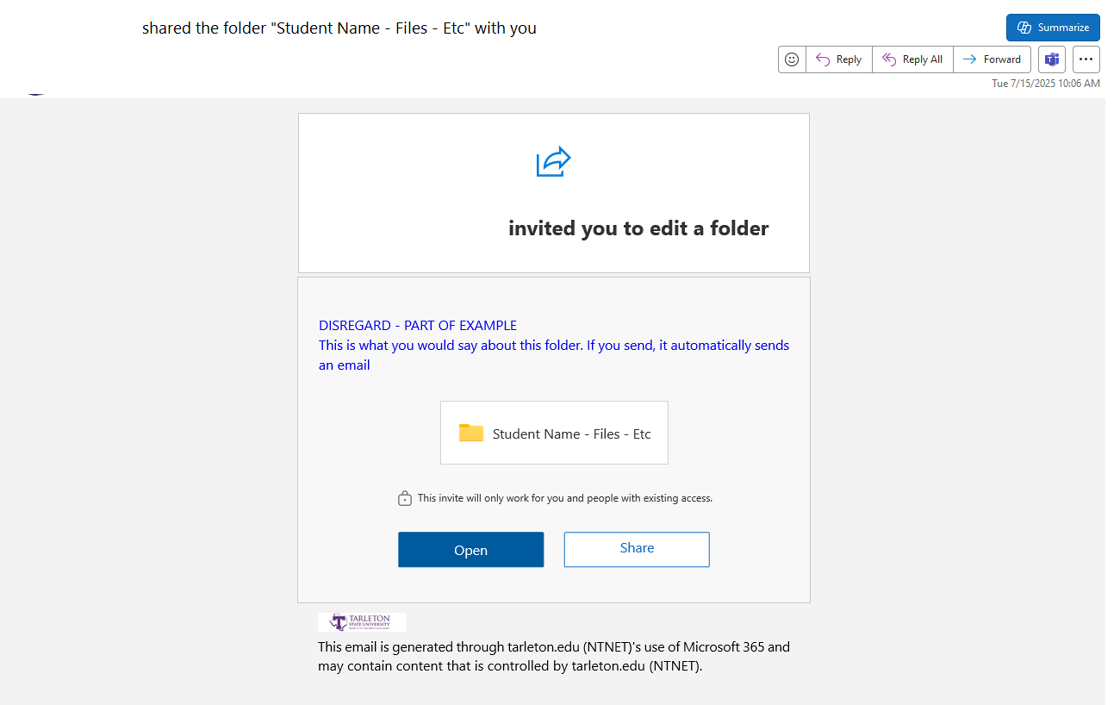
Tip: Tip! This is what the student will receive.
Upload Files
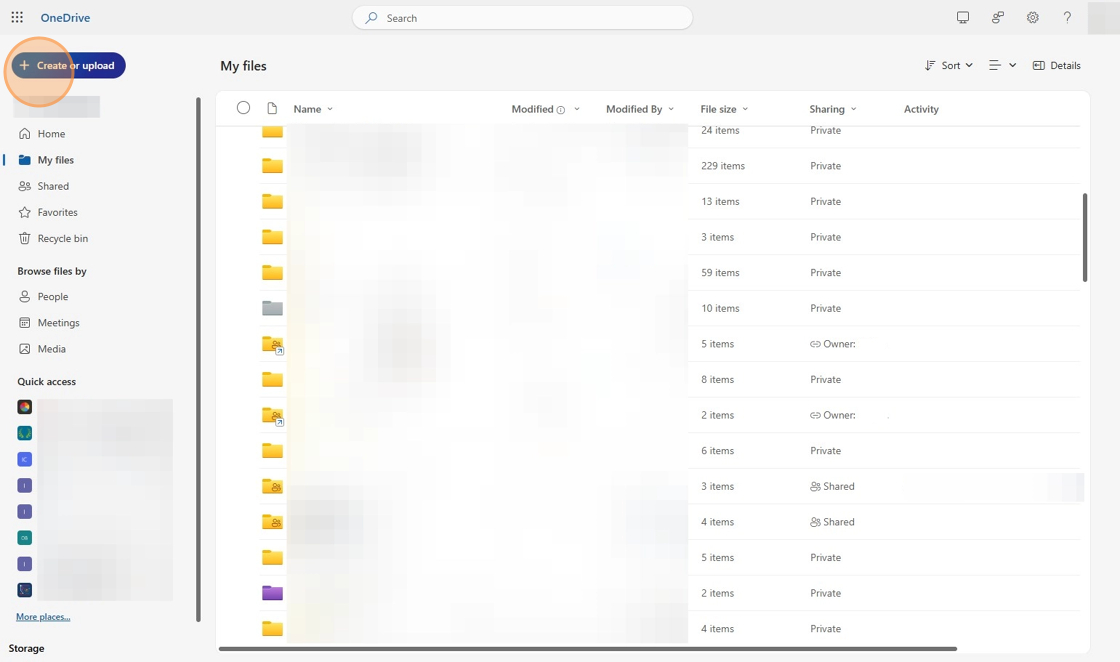
14. Click "Create or upload"